I’m very excited today to bring you a guest post from one of my dearest friends, Andrew Yanev of the wine blog Talking Tannins. Buddies since the first day of 2nd grade, Andrew and I go way back, and over the years we’ve shared many culinary experiences from California to New York to France. He probably doesn’t know this, but I credit Andrew for some of my most formative food experiences, including my first ever meal at Gramercy Tavern in 2007 which I will never forget (roasted chicken and the most amazing cheese plate). Andrew is extremely knowledgeable and passionate about wine – in a way that is approachable and focuses simply on wine that tastes amazing – without any of the other snobbery. Visit and subscribe Talking Tannins to find out more, and keep reading to find out how to make your own vinegar (!!!).
——————————————————————————————————————
An invitation to post on Ahu Eats is an honor. There are high standards to uphold, and since I write primarily about wine I needed a proven, wine-centric recipe to discuss. The answer is vinegar – a fundamental food, like salt. And like almost everything, it’s better homemade.
What is it?
Vinegar is a solution of acetic acid – usually around 4-7% – and water. Most food vinegar is derived from wine, cider, beer, or other alcoholic liquids. Wine exposed to air will quickly sour and gradually turn to vinegar through the action of acetobacter aceti, a naturally-occuring bacteria that ferments (converts) alcohol to acetic acid. As Harold McGee would say it, “vinegar is alcohol’s fate.”
Winemakers expend a lot of effort to prevent this from happening. But simultaneously, dedicated artisans – some of them winemakers themselves – go out of their way to encourage the same reaction to create delicious vinegars. It’s two sides of the same coin, and a great use for leftover wine, especially if it’s good. Never forget food’s golden rule: garbage in, garbage out.
What’s the point?
In Think Like a Chef, Tom Colicchio advises us to use vinegar as a seasoning to brighten up foods of all types. Certainly it is useful in salad dressings and sauces of all types. And it is essential for making pickles and other preserved foods, to which entire blogs are dedicated. Perhaps my favorite use for high-quality vinegar is pan-fried chicken with vinegar, a French classic as laid out in Patricia Wells’ Bistro Cooking and The Paris Cookbook.
Vinegar is useful for preserving foods because it inhibits the growth of microbes – as little as 0.1% in a solution can be enough. Ancient Romans added vinegar to water to create a safer, tastier version of water they called posca. Sometimes sweetened with honey, it was much more pleasant to drink that some of the sketchier water sources they must have had. It was also presumably easier to transport than wine, which spoiled easily and was much more dilute.
How is it made?
Making passable vinegar is simple: inoculate something alcoholic with acetobacter, set it in a warm place and wait. But for our gourmet tastes, we can optimize the process and control the inputs to create a maximally tasty end product.
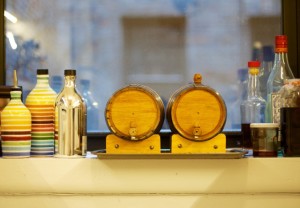
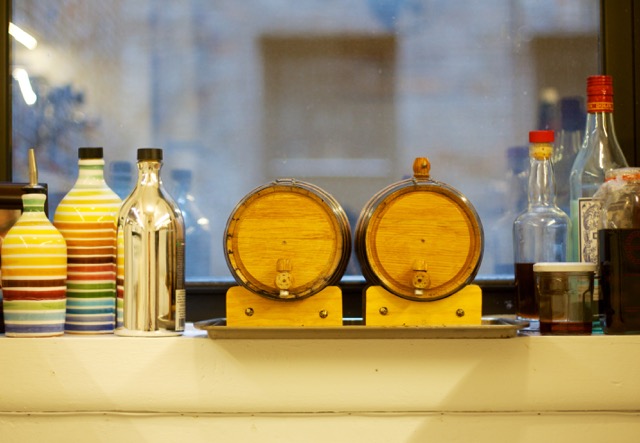
The most relevant technique for making vinegar is slow fermentation in a crock or in a barrel. Both are fundamentally the same except that with a crock we make a one-off batch, whereas in the barrel we create the vinegar in a barrel and periodically draw off finished vinegar while adding more wine back in to replace the lost volume. This way you can continue the batch indefinitely and the complexity of the vinegar increases. Officially this is known as the Orléans method, after the town in France where it was (and still is) classically used. It has the added benefit of introducing oak flavors to the vinegar, although just as with winemaking this is easy to overdo.
Other processes exist such as solera aging for Sherry vinegar, and of course the incredibly drawn-out, time-intensive production of true Balsamic vinegar, but that is well beyond our scope here. Real Balsamic vinegar is incredibly special, as Paul Bertolli explains in his standard-bearing Cooking by Hand, and can involve decades of aging and slow evaporation through progressively smaller barrels. On a side note, I recently tasted some balsamic-style vinegar made in New Mexico, which was remarkable.
What you’ll need to make vinegar
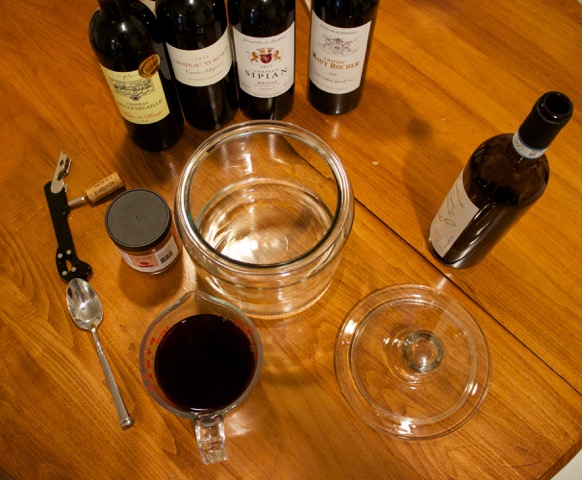
- A wide glass jar (3-quart jars can be had at Crate & Barrel for about $11), or a 2-liter barrel if you want to get fancy. These can be purchased from American Barrel for about $50.
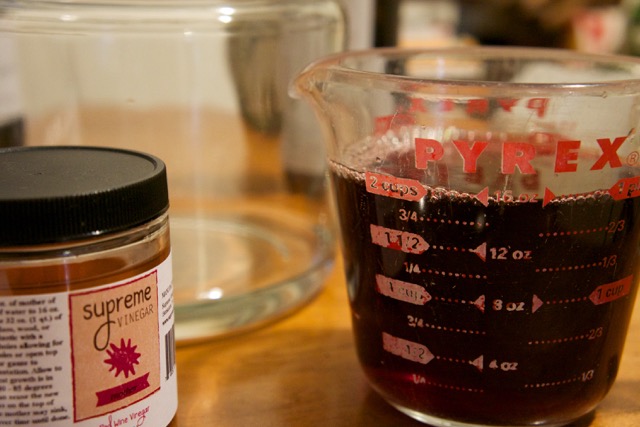
- Mother of vinegar: This is a mass of bacteria and their secretions, suspended in vinegar. It’s the natural-occurring but commercially isolated culture you will use to inoculate your wine and kick-start the fermentation. Amazon has a number of good options, like this one. You could make vinegar without this, but it would be slower, less reliable, and could potentially develop off-flavors and strange odors. That could be a great experiment, but I don’t suggest you start with it. Even better, if you have a friend who makes vinegar you could use a chunk of their active mother to start your batch.
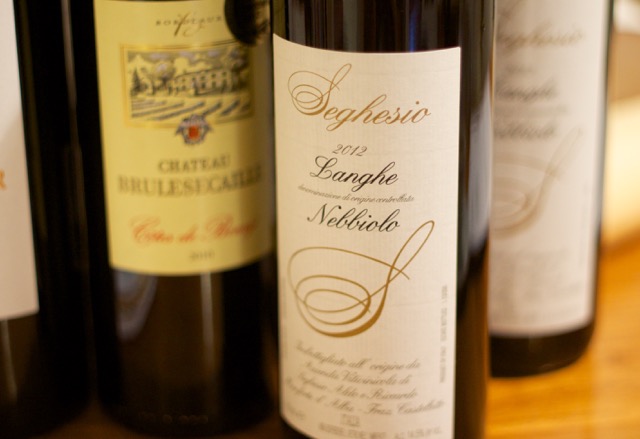
- Wine: This is my preferred ingredient, although you could also use cider, beer, etc. A fruity, acidic wine is ideal because those will be good characteristics for your finished vinegar. Don’t be extravagant, but don’t skimp – in talking to experience vinegar-makers it is clear that the characteristics of the wine will have a large impact on the flavor of the vinegar. For reference, I used an $18 Nebbiolo from Langhe that I bought at Sherry-Lehman in New York.
The process
The core of the process is very simply: combine the mother with the wine in the crock (or barrel) and place in a warm place to ferment. Acetobacter love warmer temperatures – the low to mid 80s (F) is perfect. The fermentation should take between three to eight weeks depending on how active the mother is. A few notes:
- Many people prefer to dilute the wine about 50%, or to about 6% alcohol, so that the fermentation proceeds more easily and the final acidity of the vinegar is about 4%. The only downside to this is that it dilutes the phenolic compounds (i.e. the tastiness) in the wine. If you are a patient person I suggest trying it undiluted and then diluting after a couple weeks if it seems the fermentation is “stuck” (not working).
- Over time a slimy disk – the mother – will form and expand on the surface. This is a good thing. Remember that the acetobacterneed oxygen, so where else would you expect to find them all massed together? At some point the mass may sink and a new one will form. This is also good, and you can discard the sunken mass because it is no longer active.
- If you use a barrel, it might be better to use it for aging cocktails or something else first so that it does not impart too much oak flavor into your vinegar. Oak is nice but fresh barrels are very strong in flavor. Also, be sure to seal your barrel properly before use (they come with instructions, but essentially you fill it with warm water until the woods expands and the barrel stops leaking).
- If you use a crock, cover it with a dishcloth to make sure nothing gets in aside from air.
- Cleanliness of everything you use is, of course, very important.
And the result?
You’ll have to check back in to find out. Better yet, start your own batch and find out for yourself.
- A wide glass jar
- Mother of vinegar (this is a mass of bacteria and their secretions, suspended in vinegar)
- Wine (you could also use cider, beer, etc)
- Water
- Combine the mother with the wine in the crock or barrel, and place in a warm place to ferment (low to mid-80s F is perfect). Adding a little filtered water (maybe 15-25% of the volume of the total mixture) is optional and will make the process go faster.
- Check your vinegar over time as it ferments - a slimy disk (the mother) will form and expand on the surface. This is a good thing!
- At some point, the mass may sink to the bottom and a new one will form at the surface. Simply discard the sunken mass as it is no longer active.
- After 3-8 weeks, the vinegar will be done (just sniff and taste to find out).
- Pour it off into bottles and enjoy! Storing in the refrigerator is advised.



I so agree about considering vinegar a seasoning more often. Whenever I see the phrase “season to taste” I always consider if the author might mean vinegar. Handled correctly, like salt, it doesn’t add taste it enhance and boosts the taste already there. Which I’ve always wondered (and you’re the guy to ask). Is it the high acidity of some wines makes most food taste so much better? GREG
wow, this is fascinating!
This is a wonderful post – and how fun that you have known one another so long! We always dump little bits of excess wine into our vinegars. It really “ups” the taste of some rather ordinary vinegars. Now, we need to follow Andrew’s recipe and start from the beginning!